So, I told you about our first day in Tokyo, I showed you some pictures about our first japanese dinner with Okonomiyaki.
Let me now give you the recipe (aka what I managed to do in my kitchen starting from Runnyrunnu999’s and Cookingwithdog’s recipes): being “okonomi” you can find countless recipes online, the most “traditional” ones have yam in them.
Little “did you know” time: yam is sold, at least in Italy, only in some asian grocery stores, it’s a starchy tuber that, when grated still raw, produces a slimy and gooey texture that’s perfect to keep your okonomiyaki together. But don’t be scared, they come out just fine with simple flour and eggs.
OKONOMIYAKI (x2servings)
100g cake flour (or all purpose is fine)
160ml lukewarm water (or divide it between water and dashi)
2 eggs
6 or 7 cabbage leaves (chinese cabbage is best, if you can’t find it, savoy cabbage is the one that tastes most similar, and if that fails again, don’t worry, regular green cabbage will do, as long as you chop it very finely) chopped
3 slices of bacon
1 tsp baking powder
1 pinch beni shouga (red pickled ginger, but I used the ginger that comes with sushi :P)
salt and pepper to taste
—
some other “okonomi” ingredients:
cooked onions or raw leek
tonkasu (drops of deepfried tempura batter), or puffed rice, or crisps/chips (the ones from the bag, we used these ones) crumbled, use the most basic “salt” type
anything else (from shrimps to other vegetables, etc, it’s up to you)
—
Toppings (aka all the nice garnishes on top)
aonori (nori seaweed chopped finely)
katsuobushi or bonito flakes (dried skipjack tuna flakes)
fresh scallion, chopped
japanese mayo
okonomiyaki sauce
As you’ll soon learn with other japanese recipes, there’s a lot of chopping and prepping ahead, then the “cooking” bit is quite simple and fast.

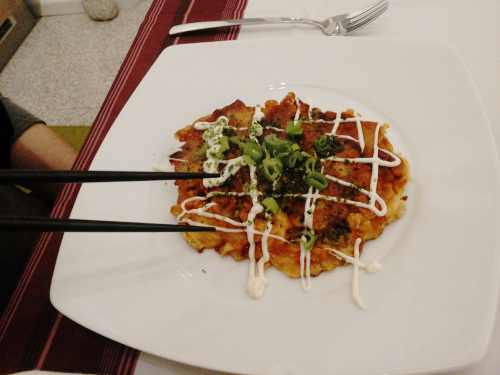
Our first tryout, good, but as you can see the sauce wasn’t good enough (we used simple soy sauce without thickener)
Make the batter mixing flour, water, salt and pepper.
Add the eggs mixing well.
Add all the other ingredients, finely chopped, except bacon and toppings. Add your tonkasu (or substitutes) last, to leave it crunchy.
Heat a nonstick pan with a drizzle of oil (so little you can barely see it, better yet, take a kitchen paper towel, and use it to smudge the pan with the grease, that will be enough). When it’s hot, keep the heat medium-low (the okonomiyaki needs to cook in the inside too, without burning nor driying out).
Pour a ladle of the batter, giving it a round-ish shape. Don’t pat the batter!!!
Some batter could run out the sides, just put it back in with a spatula, always trying to keep a round-ish shape.
While the bottom cooks and becomes golden, lay some bacon strips on the raw, top side.
When the bottom’s done, turn your okonomiyaki with a big spatula and cook the other side, the bacon one.
When it’s done, turn one last time and paint on (here’s what the kitchen brush was needed for) lots and lots of okonomiyaki sauce.

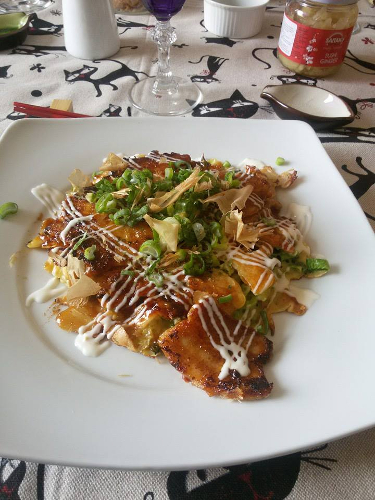
Second experiment, except that piece of bacon that slipped in the front, they were practically perfect *_*
Serve still hot, decorated with mayo strips, a pinch of aonori and a pinch of katsuobushi.
Eat with your chopsticks.
And here’s how the snickering teenagers did while we were trying to understand how to eat this goodness.
Stab both your chopsticks in the middle of your okonomiyaki, then open them like you would to pick up a piece of sushi. They basically work like reversed scissors. Messy at first, yes, but then you’ll get good at it.
PS – a year after EDIT
Since I’ve recently tried to make some okonomiyaki for a friend who doesn’t eat meat, I can definately say that substituting bacon with slices of seitan is a perfect thing to do!!!
And for all the vegans out there: get some yam, you’ll be able to skip the eggs. And to substitute oyster sauce, get some mushroom sauce 😉
