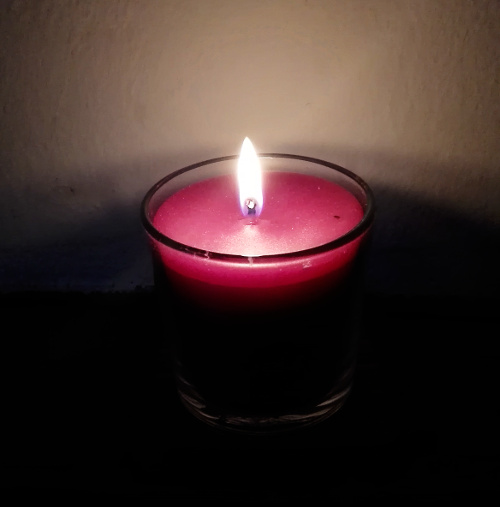
Since we’re soooo close to Candlemass, I thought to post a nice recycle-DIY tutorial that’s themed with that.

Making candles recycling old candles.
The thing is very simple: you melt old pieces of leftover wax, to make a new candle.
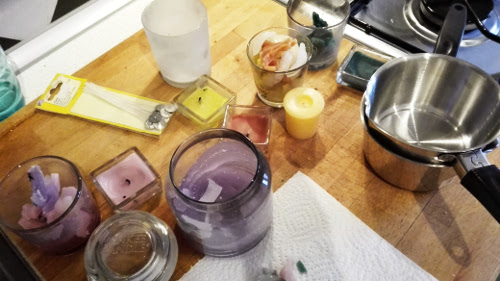
What you’ll need:
– old wax
– glass jars or glasses (not the ones to see, but those in which candles are sold are A-OK!), or if all else fails, also juice jugs, the ones in tetrapack
– new wickers
– essential oil (optional, only if you have scentless wax and you want a scented candle)
– bamboo chopsticks, like the disposable ones from your favourite chinese restaurant, or old pens that no longer write, or toothpicks, basically anything that can sit straight
– painters tape or glue pads
– two pots you can spare (old and broken works perfectly)
Step 1
Set your mold, aka it has to be clean and dry.
Now place your wicker at the center bottom.
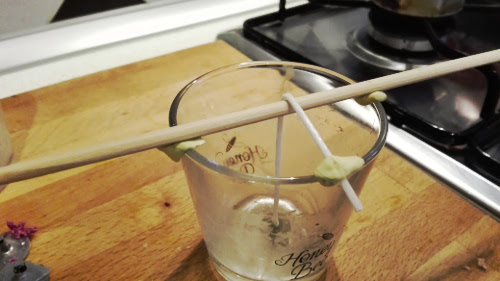
Note: some wickers are sold already waxed and with the metal thingy base, if you have these ones, put a drop of melted was on the bottom and use it to “glue” your wicker in place.
If you only have the wicker spooly thread, don’t fret, here’s the solution: quickly dip your thread into the melted wax, pull it out while squeezing and straightening it between your index and thumb (think of fixing moustaches), then proceed like with the other wicker 
Step 2
Continue prepping your mold: once the wicker’s in place, take your chopstick, place it across your glass, on the diameter, hanging on the borders. Set it in place with your glue pads. Do so with your wicker as well, so it stands straight and centered.
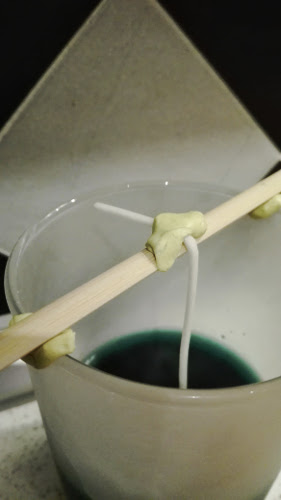
Note: I get so mad when I see tutorials for candles going like “pour wax, add your wicker, done!”. If the wicker isn’t holding on to anything, it’s going to drown in a sea of melted wax. This was a PSA.
Step 3
In a double boiler (aka one pot with a little water in it, the other pot with the wax goes into the pot with water) melt your leftover wax. If you wish, when it’s half melted, you can add some E.O.
Step 4
Pour the melted wax into the mold (don’t let the water boil, btw, the wax doesn’t have to be TOO hot when it’s melted, we’ll see why in a moment).
Note: you can decide, beforehand, if you want to divide your leftovers by colour, if you want to melt all together (to create new colours. Warning: ALL the colours together give brown), or if you want to only melt white wax to pour over coloured wax pieces, for a pretty effect.
Step 5
Patiently wait for it to dry… to set… to cure… to harden… whatever.
If you want to go on with other wax (like, another colour) but you still have melted wax leftover, that’s GOOD!
I pour the extra wax into a tinfoil thingy, one from the tealights. If you don’t have one, that’s allright, you can use another glass, or another juicebox, or, if all else fails, make a little bowl out of cooking tinfoil.
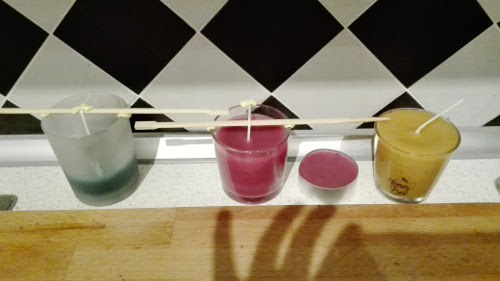
Step 6
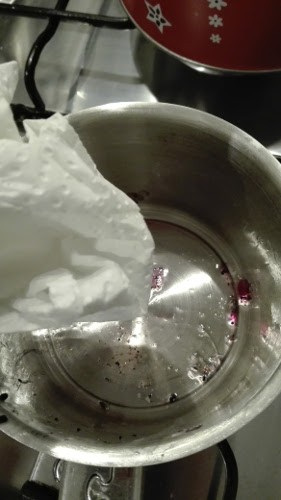
With a piece of kitchen paper, wipe well your wax pot, to remove all leftovers, so to have a clean candle next 
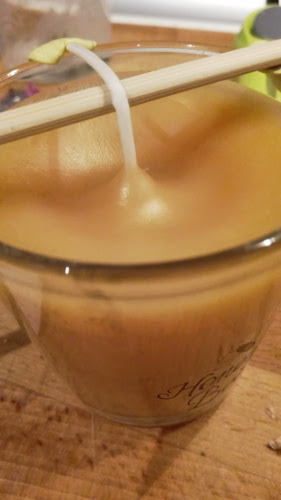
And finally here’s why you shouldn’t have a too hot melted wax: the difference in temperature, between your wax and the mold and the wicker, will produce what I call “volcano effect”, where the wax solidifies on the borders and the wicker first, leaving a deep valley around.
How do I overcome this?
I don’t, I do stuff and hope for the best.
But here’s were the extra melted wax comes in handy: you can re-melt it once your candle is dry and use it to level up things, so no more volcano 😛
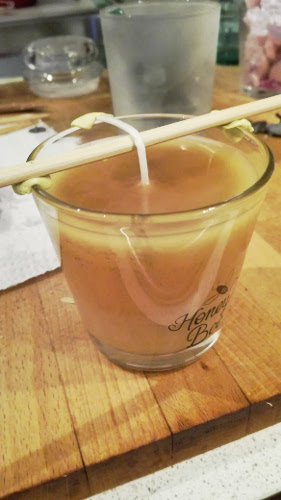
Now go have fun!
